 Equine


Clipping a horse’s head is the most intimidating part of body clipping for many owners. A slip of the hand and you could lose a chunk of forelock. Working around the horses eyes just makes people nervous, and with good reason. Of course we all know that horses quickly pick up on what we are feeling so the first step is to take a deep breath and relax. Do not walk into the process thinking it will only take a few minutes; leave yourself a bare minimum of 30 minutes to finish.
For starters, be sure you have the appropriate equipment and that it is all in working order. Following is a list of equipment you will need.
1: Wahl KM-10 or KM-Cordless clippers with Wahl Ultimate Competition Series #10 Blades
2: Wahl trimmers with the 5-in-1 blade. I prefer the feel of the Chromado but many people love the Bravura and the new Creativa. Any will do, just chose what feels best in your hand.
3: Wahl Blade Oil
4: Soft brush
5: Wash cloth
6: Spray on conditioner or lotion
Anytime you are clipping, start with a perfectly clean and dry horse and sharp and oiled blades. Anything less will result in discomfort for the horse, frustration for you and a badly clipped head! Continue to oil your blades approximately every 10 minutes.
Which clipper you start with depends on the thickness of the horse’s hair. For thicker hair you will need the KM-10 or KM Cordless to start and then clean up the hard to reach areas with the trimmers. If the hair is thinner you can go ahead and use the trimmers for the whole thing. Make sure your trimmers are set to the #10 setting before you start. This is so important that I will say it again, make sure your trimmers are set to the #10 setting before you start. One swipe of the face with a #40 blade and you have an unfixable mess.
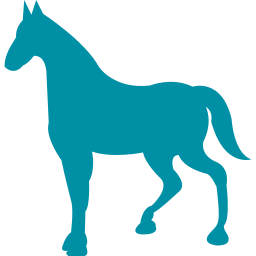
Beginning on the flat surface of the cheek allows the horse to become accustomed to the feel and sound of the clippers. These areas are pretty straightforward but keep in mind that the key to any good clip is to go over every section at multiple angles. From here I move down the jaw toward the muzzle and then to the underside of the jaw. This gets tricky if your horse is chewing, so no snacking while clipping here. This is also where you will start to get into some tight spots at funky angles. Moving the skin around helps you to be able to get to the tight areas from different directions.
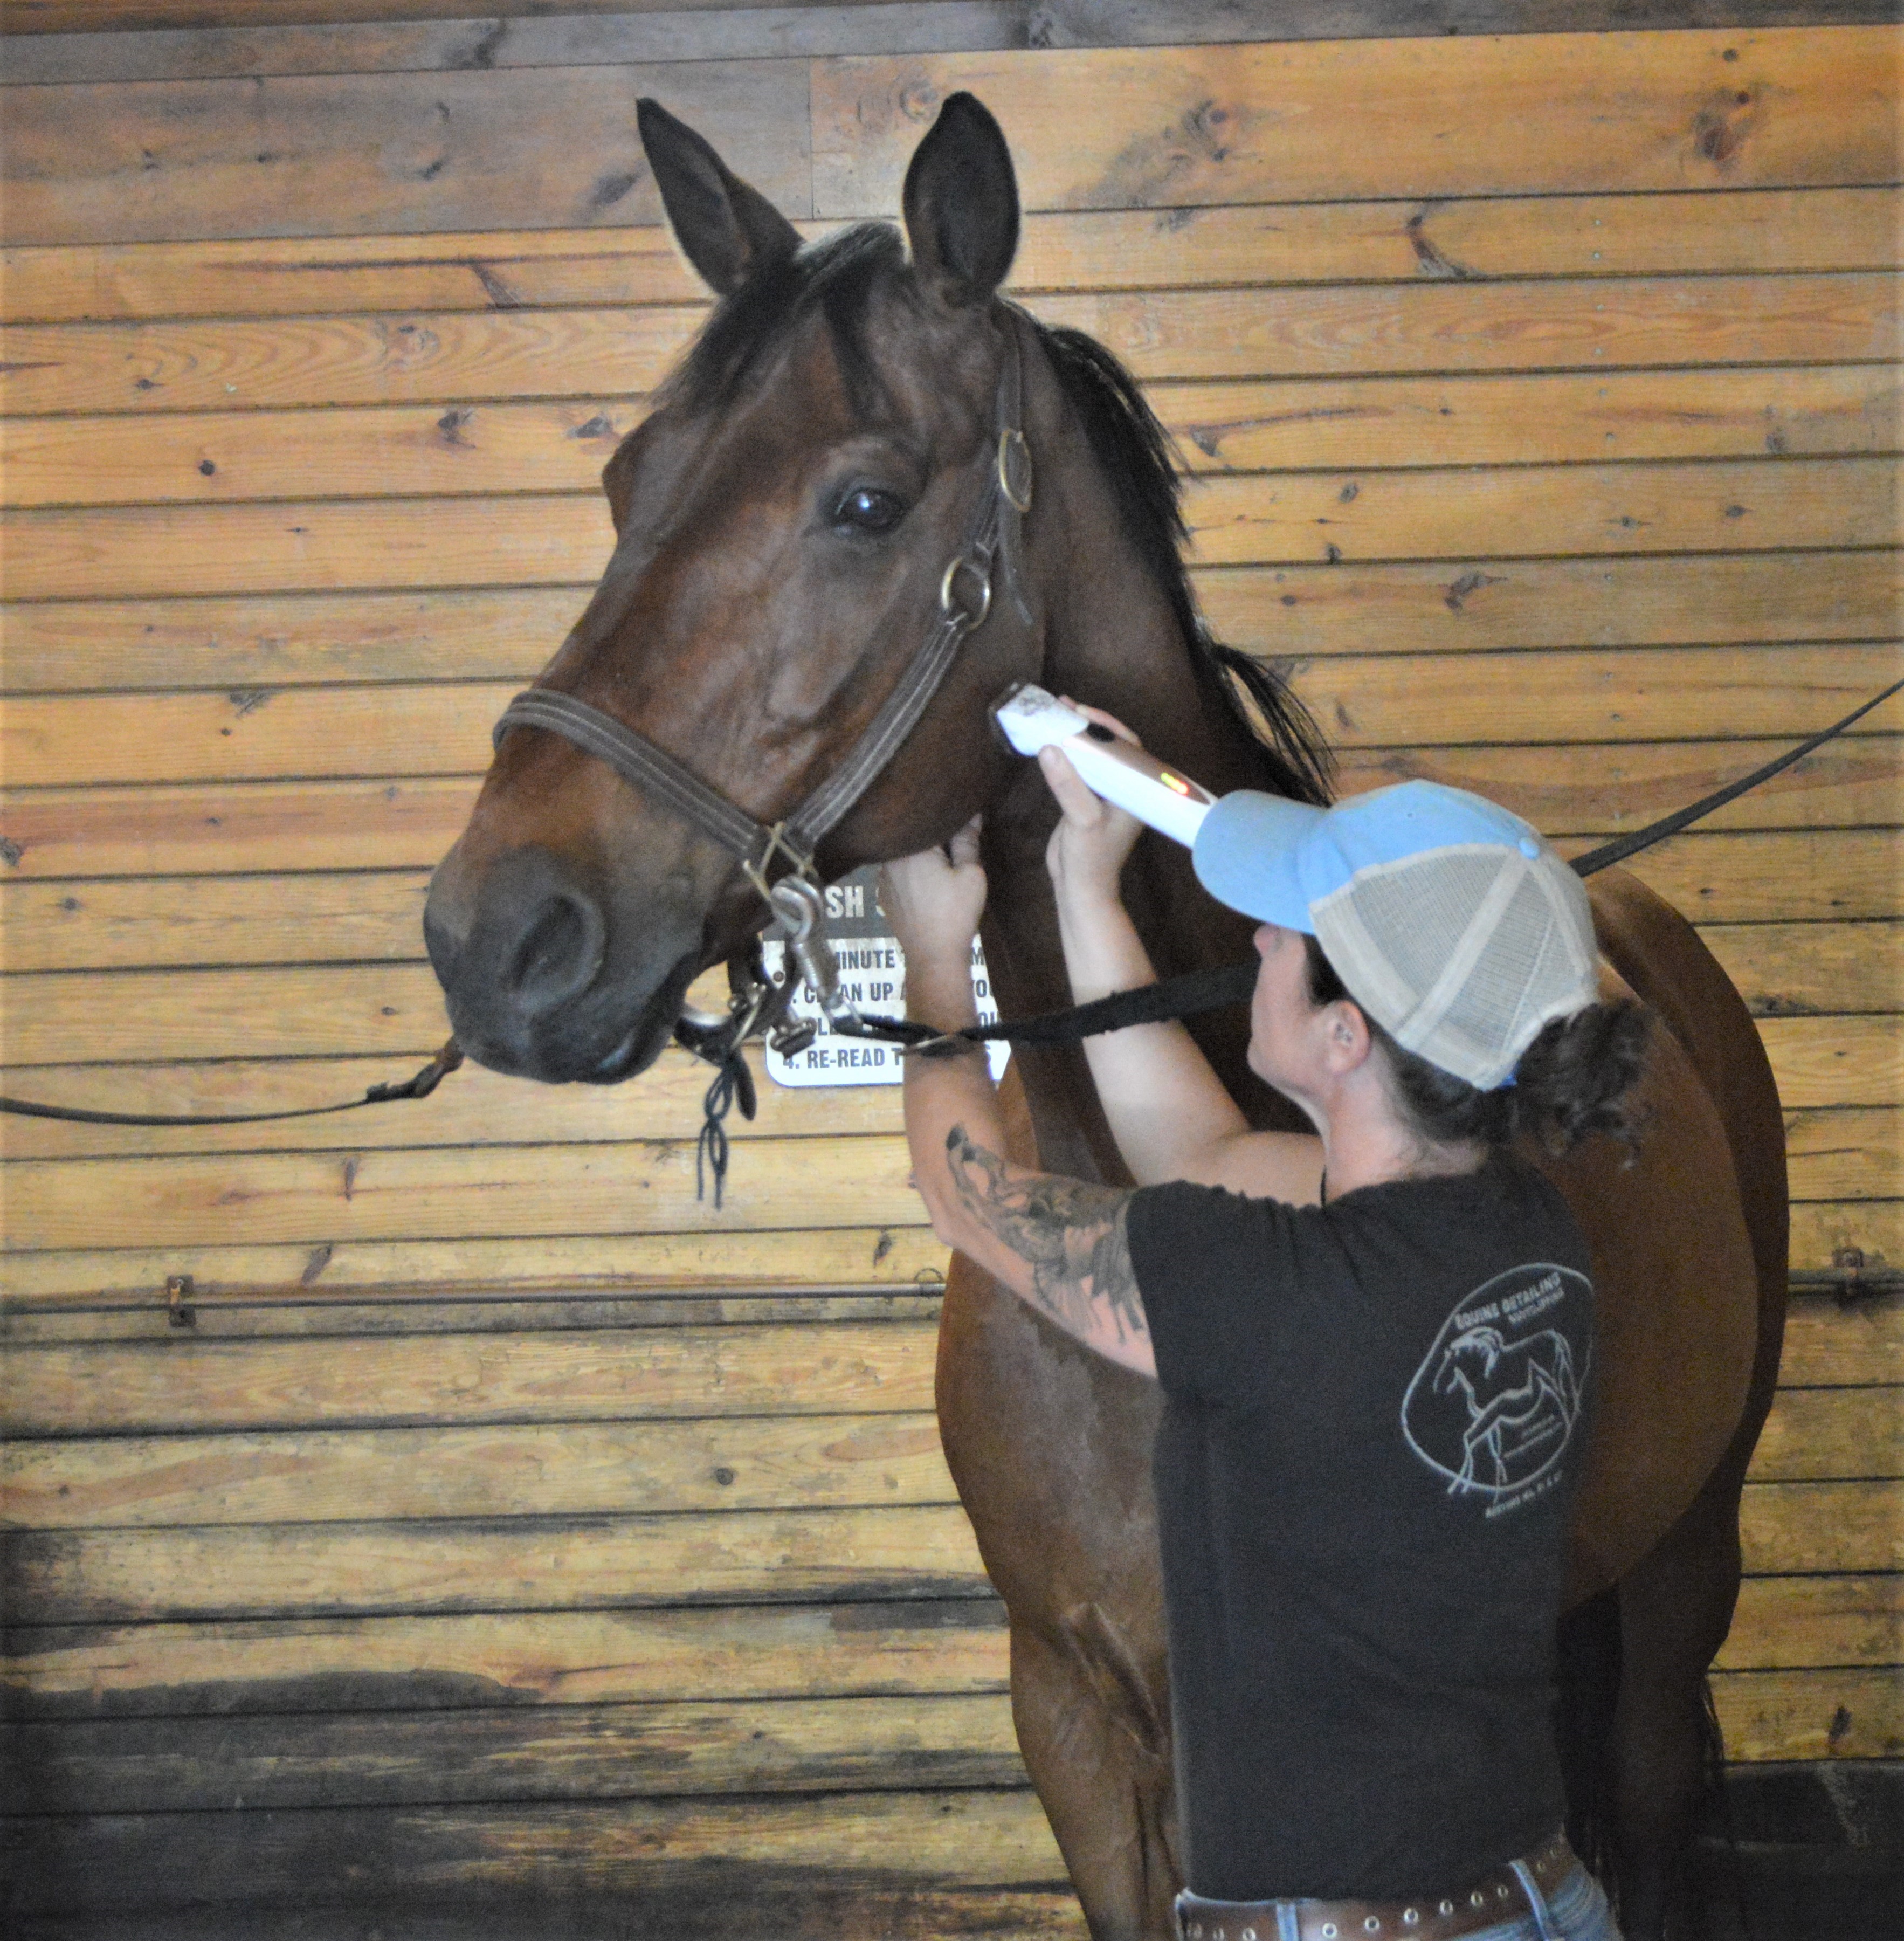
Figure 1: Notice how I am gently pulling the skin down so that it is stretched tight.
Now I grab my stool (I’m only 5’2” so I use it a lot!). Many horses don’t love to have their ears clipped so I head there, while I still have plenty more to do. This allows me to give a few breaks if necessary. My goal is always a positive and relaxing experience and sometimes that just means taking your time. With time, patience, trust and sugar they will quickly learn that it is not scary or painful…in fact many think it feels pretty good! If your horse is being “naughty” I invite you to try a different approach and assume that he is not naughty but just unsure of the process. Before you get upset with your horse remember that you are sticking buzzing clippers in her ears! Look out for my commentary on dealing with difficult horses coming next month for further details on this. Definitely use your trimmers for the ears as they are quieter but just triple check to make sure they are on the #10 setting (did I already mention that)? I use the #10 setting on the outside of the ear, being sure to move the ear forward and back, especially when clipping the base, and looking at it from as many viewpoints as possible to make sure I am not missing a spot. Go over any cowlicks at the base of the ear in every direction!
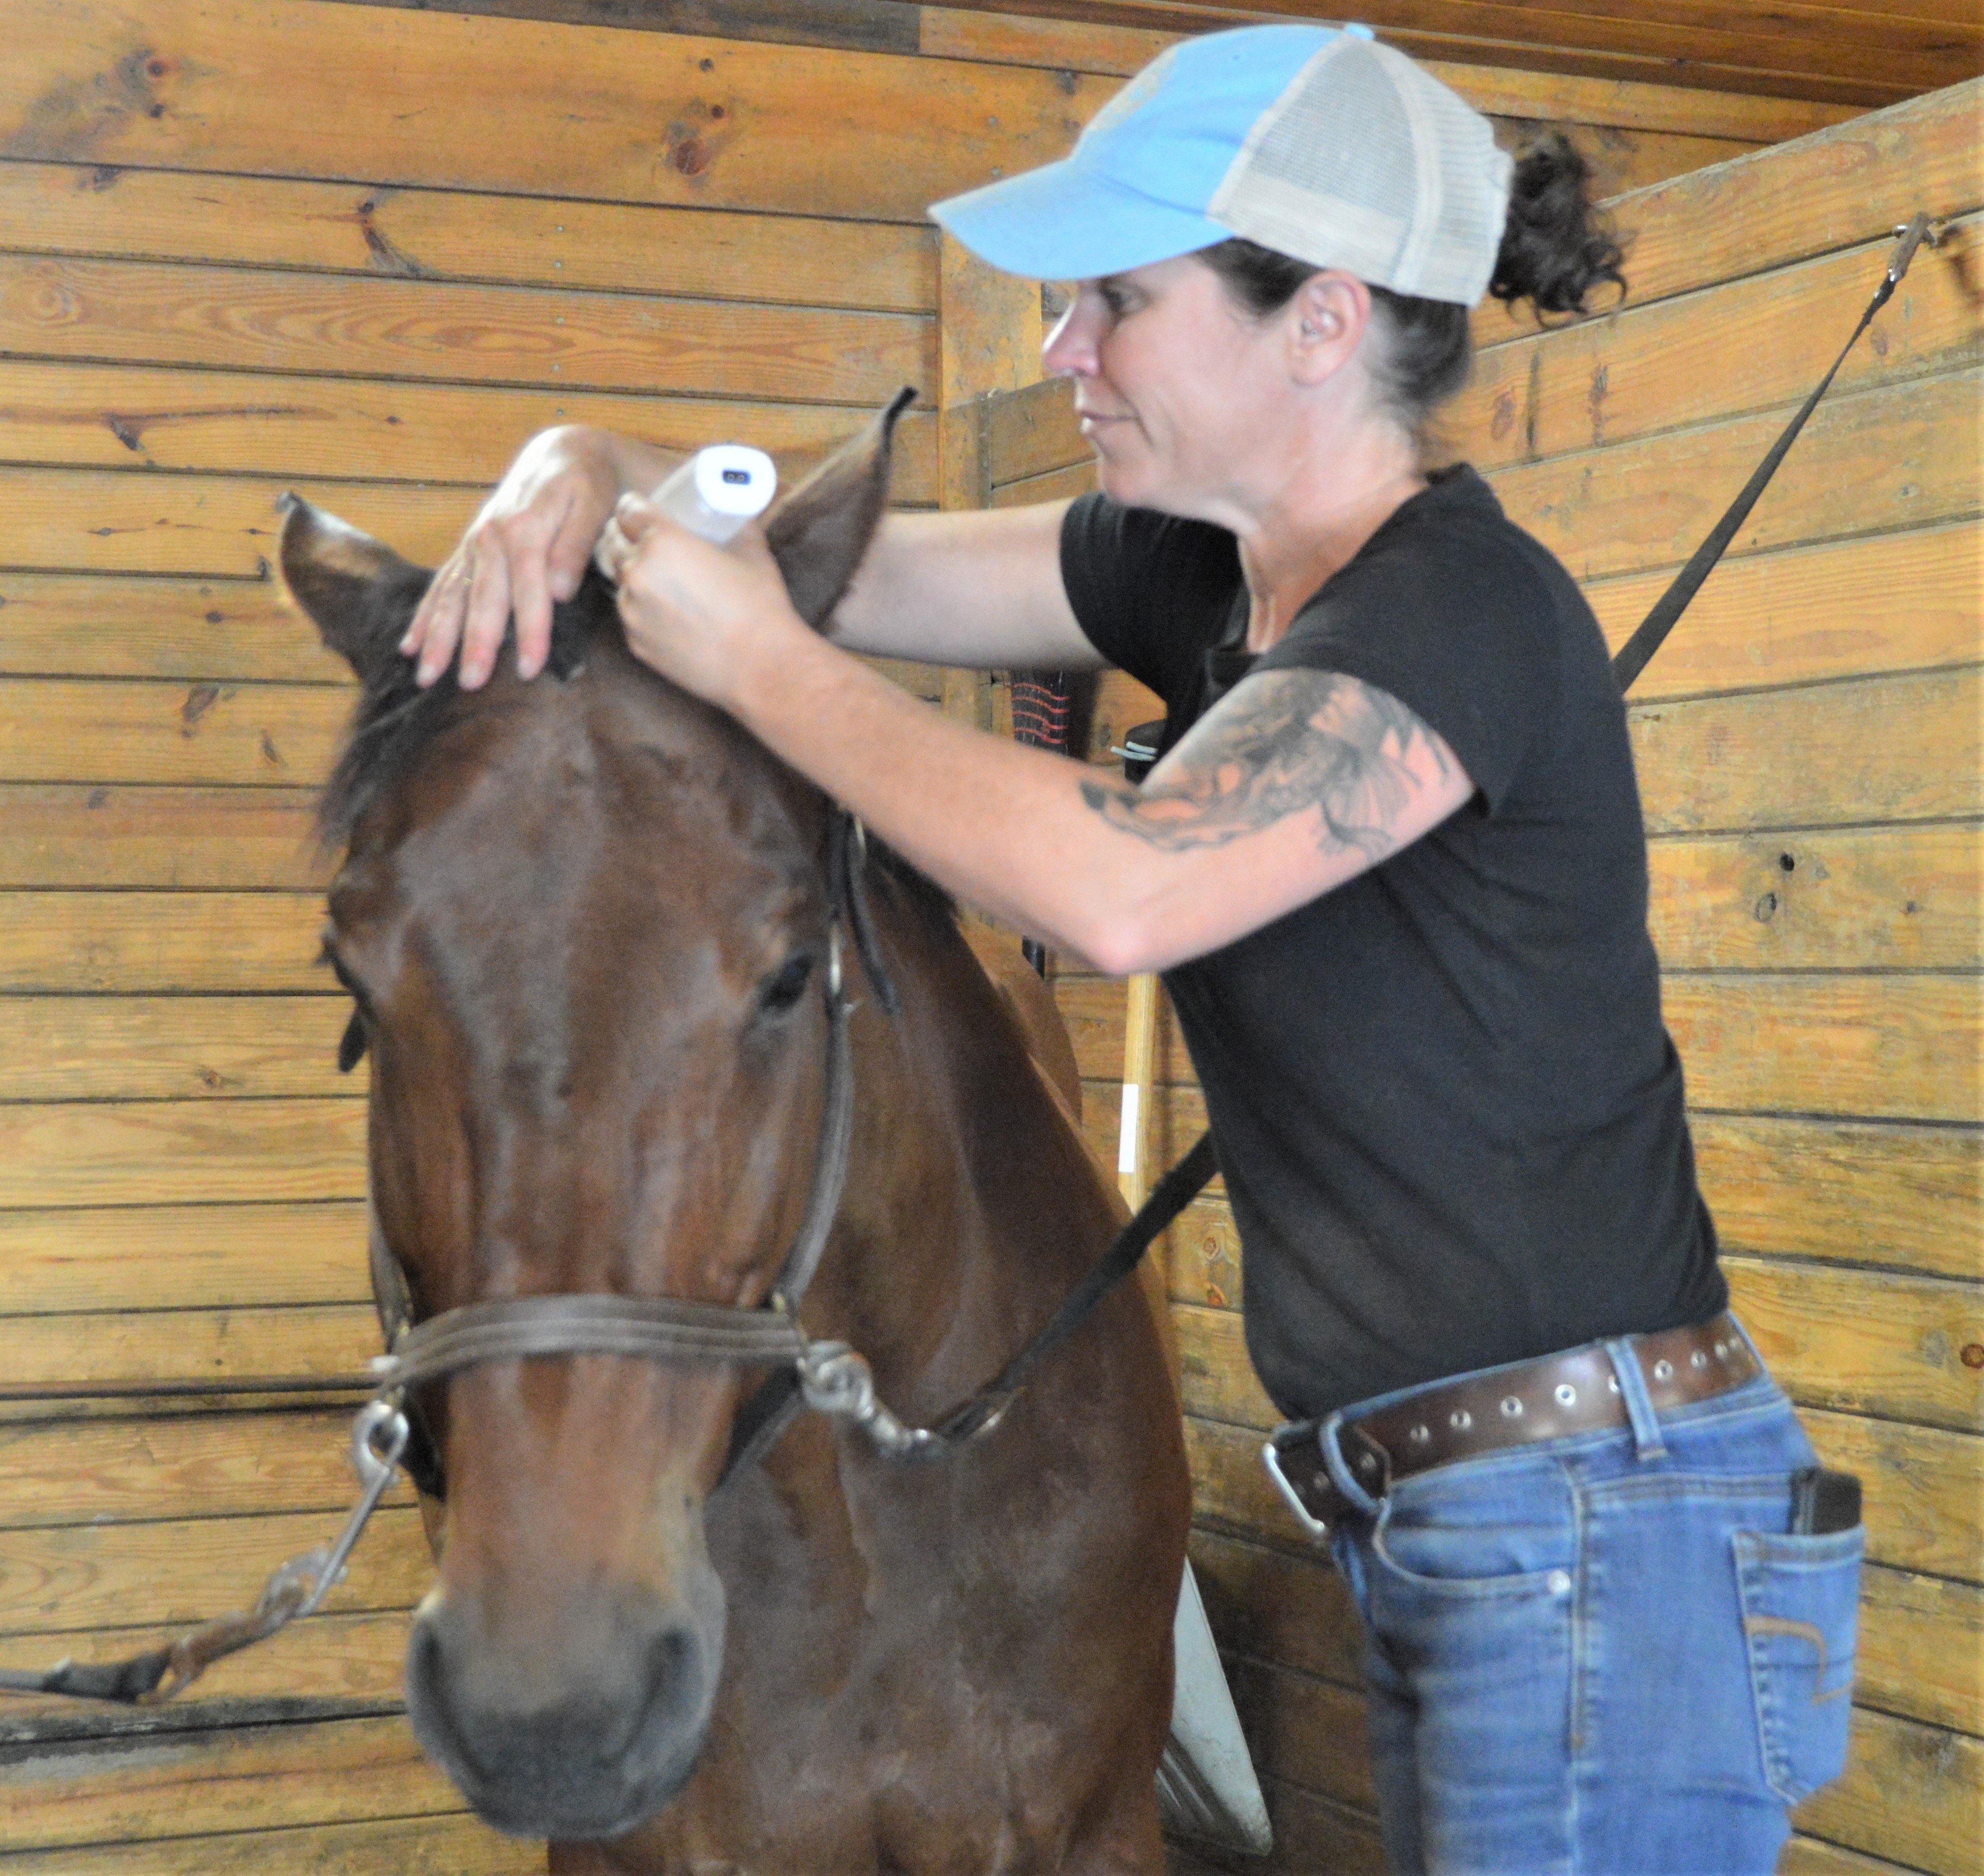
Figure 2: Always use one hand to cover the forelock
As I approach the forelock I use one hand to cover it just in case a sudden movement happens (learned this the hard way…thank you to my former boss and trainer for not shaving my head in retaliation). Once the outside is complete, I change the setting on my trimmers to #15 and do the edge of the ear. If the insides are to be clipped, I move on to the #30 setting on my 5-in-1 blade being careful to fold the ear gently inside out or flatten the ear in a downward facing direction so that hair is not falling inside. Just remember to always be gentle so that your horse never fears having his ears clipped!
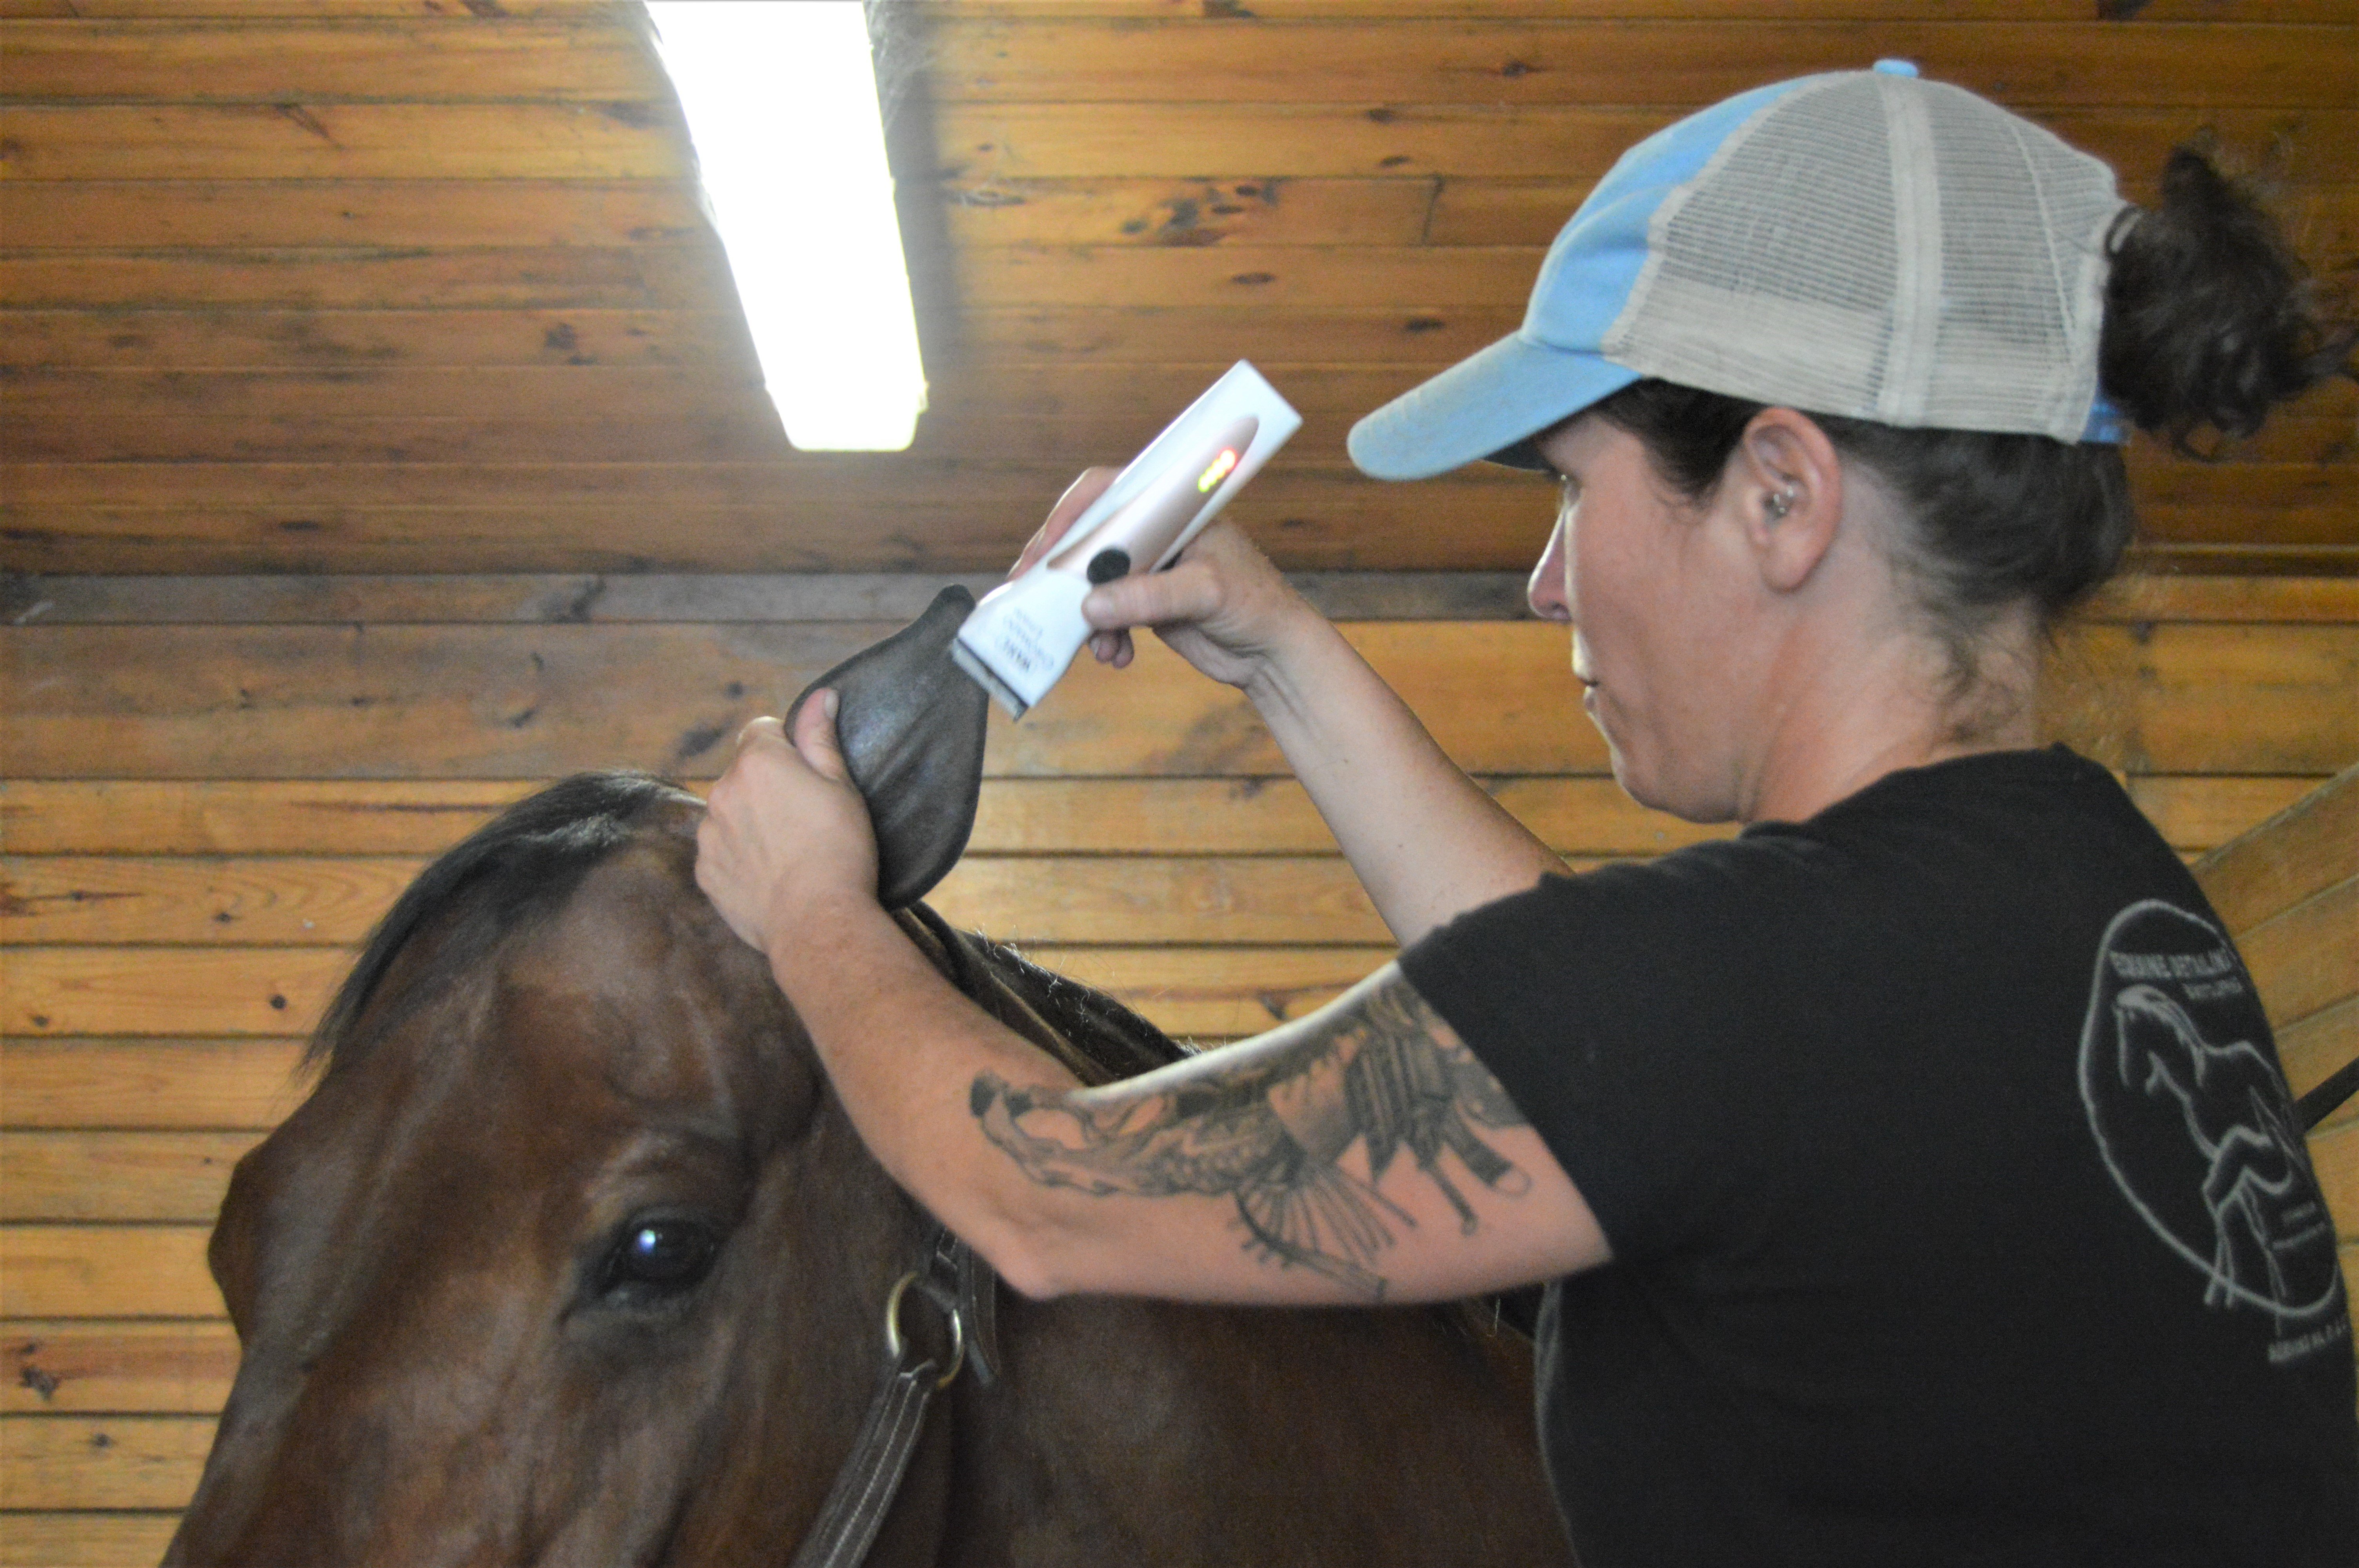
Figure 3: The ear is gently turned inside out to prevent hair from falling inside
Eyes and forehead are up next. Really pay attention to your horse when clipping around the eyes. If they are upset about it, work on finding a different approach, angle, method that works better for her. The depression above the eye can be tricky. This is another spot where you need to stretch the skin in multiple directions to be able to get at every hair. You must do this however while having the eye covered with a hand. If you need help, ask for it…your horse’s eyes are kind of important! This can be tough but just take your time and keep moving the skin around until you get perfection.
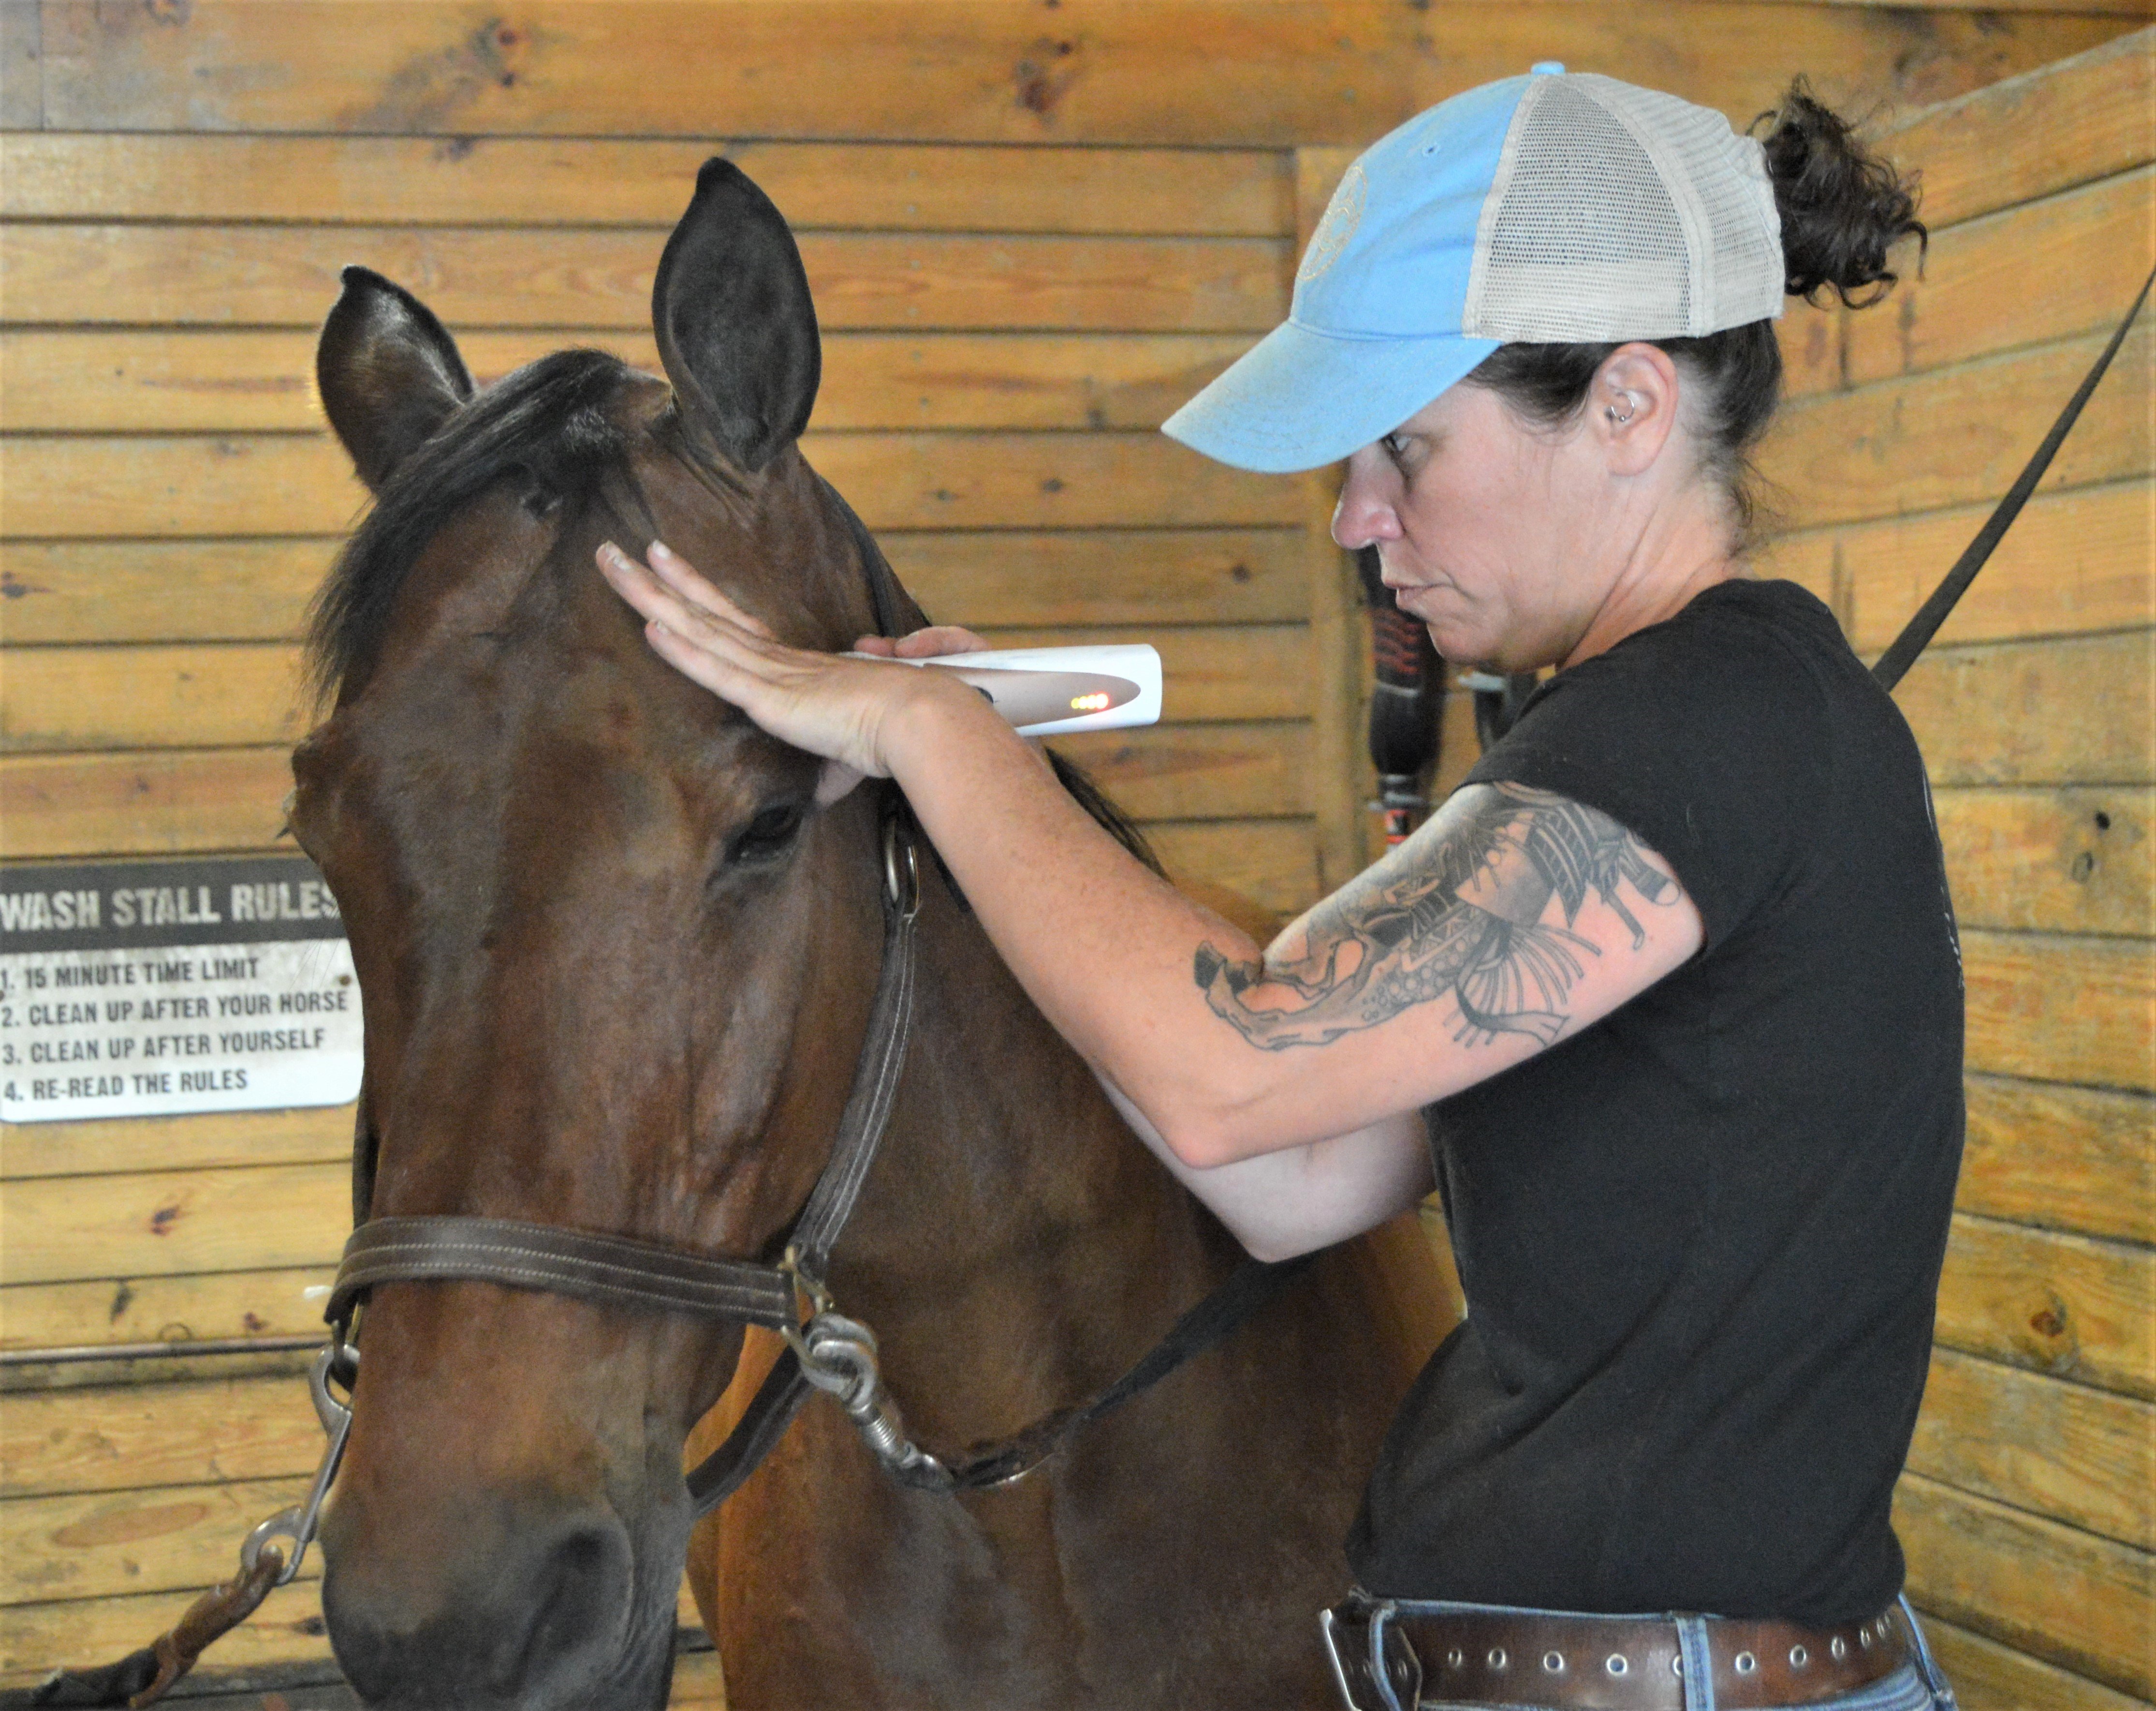
A lot of people make mistakes on the cowlick(s) on the forehead. Any time you are clipping a cowlick you need to go over it not just in several directions but in EVERY direction…usually twice. Again, cover the forelock or eyes when you are approaching them. Sliding down the front of the face we get to a lot of really bony areas where there is less loose skin to move around. Just take your time and slide the skin over the bones and curves to get at the tough to reach hairs.
The muzzle is controversial and I will keep my opinion to myself in this public setting. If you are going to clip the whiskers, go back again to the #30 setting anywhere on the muzzle and chin where the hair is thin. I then use the #10 setting to finish any whiskers that are higher up the nose and surrounded by thicker hair.
From here, you just switch sides and repeat.
I generally finish up with a wash cloth and some conditioner to help wipe off as many loose hairs as possible. This gives me the opportunity to go over every single section of the head carefully to check for any uneven places or long hairs. In the end, the horse’s head should not look like you just clipped it and it needs a week to even out. It should look horse show ready!

Figure 5: Chicago is feeling clean, cool, and handsome
Please remember a few things:
1: Clipping is not rocket science; it just takes a lot of practice.
2: Your horse is probably not being naughty because he doesn’t like you; he is trying to get away from something that he finds scary or uncomfortable. You can help him with this!!
3: Feel free to get in touch with any questions or if you see me in the barn, I’m always available to help.
Happy Clipping!
Erin Gaul
Equine Detailing